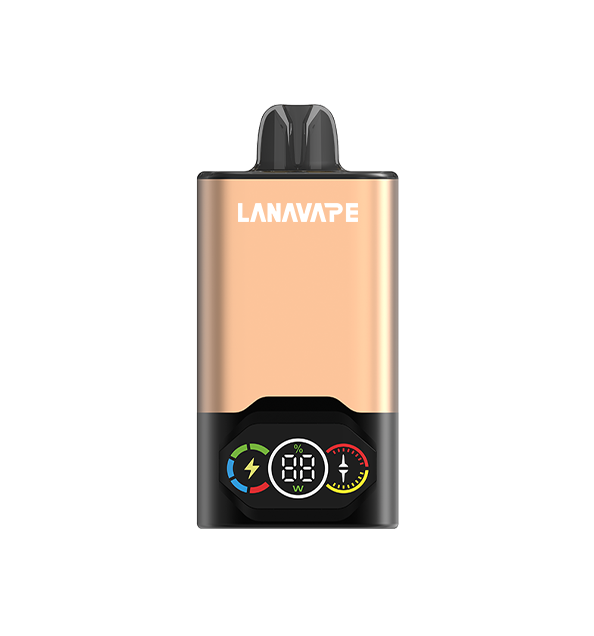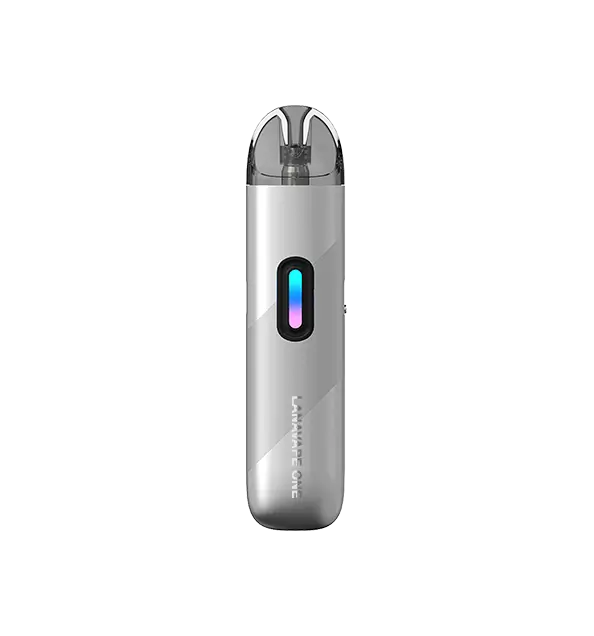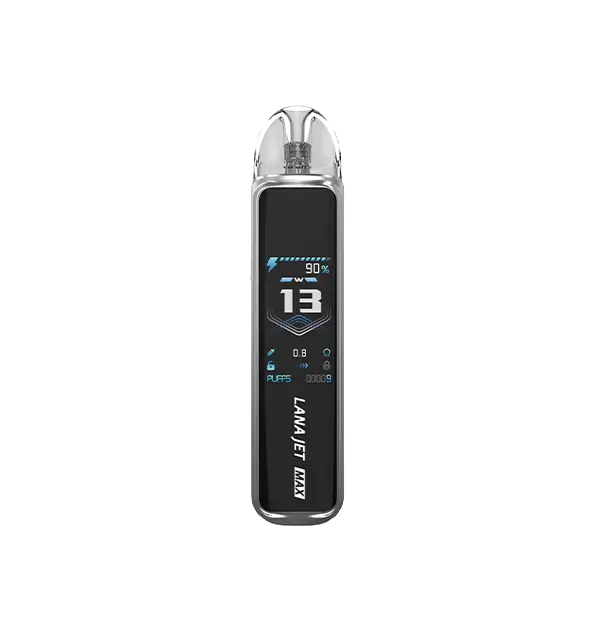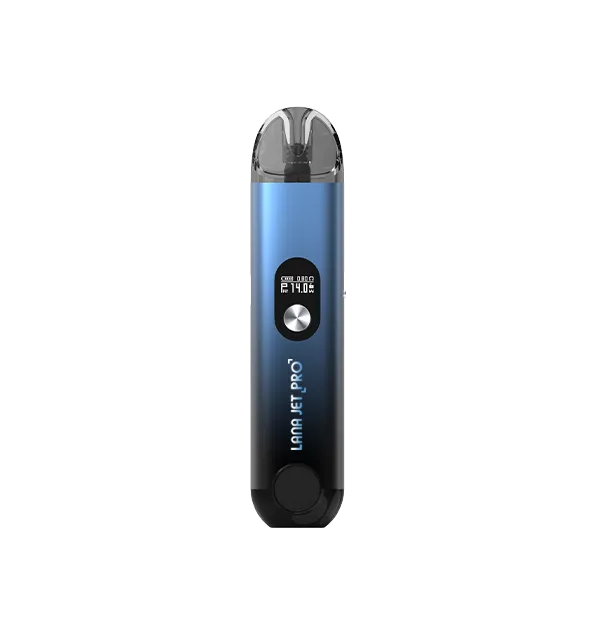
Step 1: Clean the Mouthpiece
The first step in fixing a burnt disposable vape is to clean the mouthpiece. This won’t necessarily fix the issue, but it can eliminate any unpleasant tastes caused by debris.
To clean the mouthpiece, wear gloves and use a Q-tip or a clean piece of tissue. Push the material as far down the mouthpiece as you can, and repeat until all debris is removed.
Step 2: Disassemble the Disposable
Many disposable vapes can be taken apart to access the internal components. Disassembling the device allows you to check the e-liquid levels and make any necessary adjustments.
To disassemble the disposable, remove the top of the device, take pictures of the internal components, and be careful not to disrupt or detach any wires.
Step 3: Check the Liquid Levels
Once you’ve disassembled the device, you should check the e-liquid levels. If the polyfill (cotton-like material that acts as the wick for your coil) is dry, you’ll need to add more e-liquid.
Step 4: Allow the Cotton to Soak
After adding e-liquid, you should give the cotton wick time to soak it up. This can take a few minutes, especially if your disposable vape holds a lot of e-liquid.
Step 5: Reassemble Your Disposable
Once the cotton wick has had time to soak up the e-liquid, you can reassemble your disposable vape. This should be easy if you took pictures of the internal components in step two.
Step 6: Take Primer Puffs
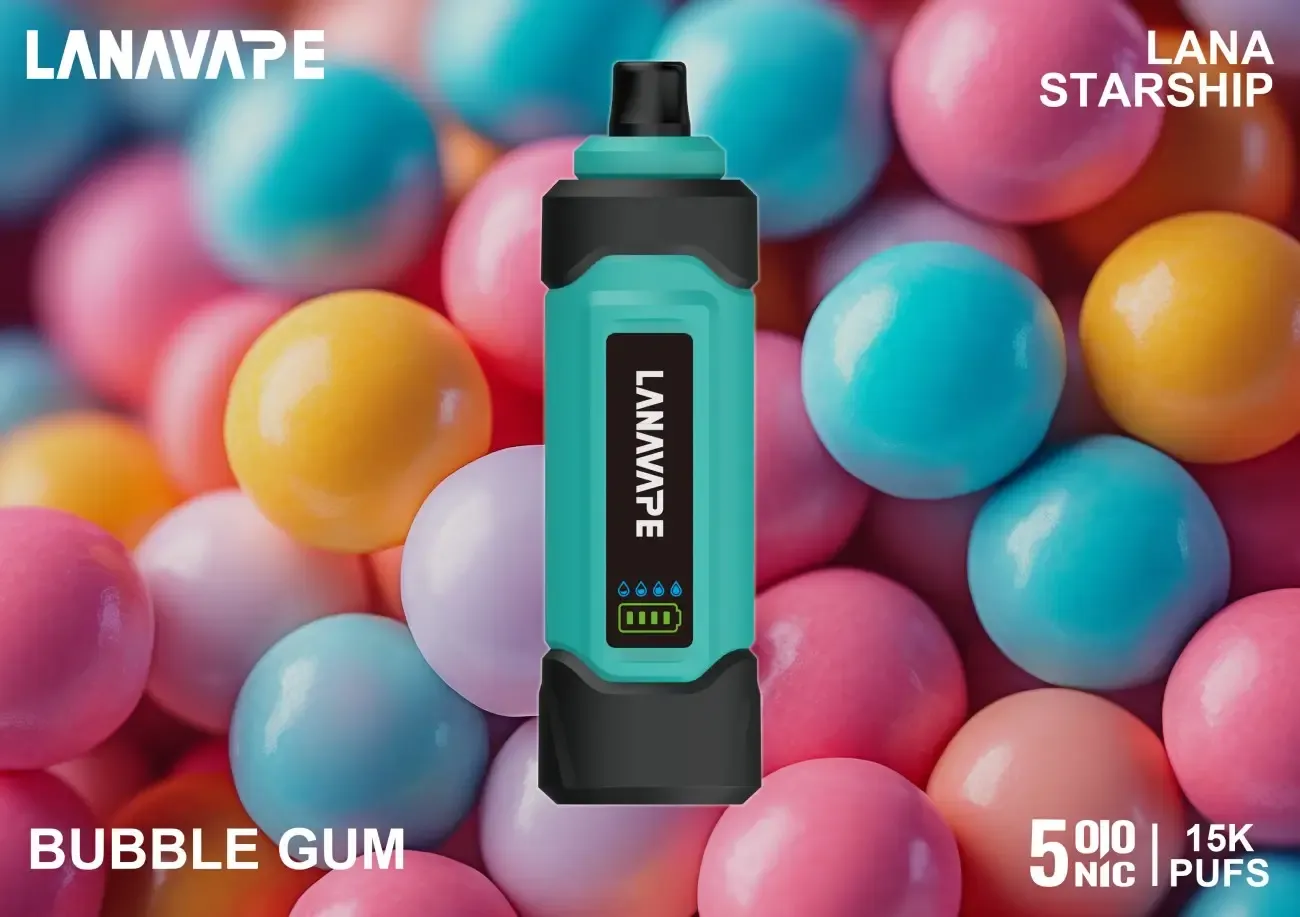
Finally, take primer puffs to get your device started again. Short, light puffs are best as they don’t force the internal mechanisms to run before they can walk. Take primer puffs at long intervals for an hour or so, or until your disposable vape is back to normal.

